- My Forums
- Tiger Rant
- LSU Recruiting
- SEC Rant
- Saints Talk
- Pelicans Talk
- More Sports Board
- Fantasy Sports
- Golf Board
- Soccer Board
- O-T Lounge
- Tech Board
- Home/Garden Board
- Outdoor Board
- Health/Fitness Board
- Movie/TV Board
- Book Board
- Music Board
- Political Talk
- Money Talk
- Fark Board
- Gaming Board
- Travel Board
- Food/Drink Board
- Ticket Exchange
- TD Help Board
Customize My Forums- View All Forums
- Show Left Links
- Topic Sort Options
- Trending Topics
- Recent Topics
- Active Topics
Started By
Message

Any DIY Watchmakers/modders in Here?
Posted on 7/15/25 at 8:32 pm
Posted on 7/15/25 at 8:32 pm
I just started getting into the watch world, but my pocketbook and taste don’t align. I went down the rabbit hole and found the DIY watch making and modding YouTube community. Infinite options of cases/dials/hands.
Anyone here make or mod their own watches? I just ordered the parts for my first build and would love any tips/tricks. I have always loved the Patek Aquanauts, so going to try to make a black on black Aquanaut-inspired piece with orange hands. If it goes well, a Land-Dweller piece is coming next.
Anyone here make or mod their own watches? I just ordered the parts for my first build and would love any tips/tricks. I have always loved the Patek Aquanauts, so going to try to make a black on black Aquanaut-inspired piece with orange hands. If it goes well, a Land-Dweller piece is coming next.
This post was edited on 7/15/25 at 8:34 pm
 8
8


Posted on 7/15/25 at 8:35 pm to Drunken Crawfish
I make my own sundials
They're very accurate if the skies are not cloudy all day
They're very accurate if the skies are not cloudy all day

Posted on 7/15/25 at 8:42 pm to Kafka
I make my own pendulums and let the earth rotate below.
Posted on 7/15/25 at 8:47 pm to Drunken Crawfish
I make my own fleshlights
Posted on 7/15/25 at 8:48 pm to Drunken Crawfish
I only buy one watch at a time and wear it till I lose it so hopefully I never buy another one. Here is my current
Posted on 7/15/25 at 8:58 pm to Drunken Crawfish
guilty af. i’ve made 15.
This post was edited on 7/15/25 at 9:00 pm
Posted on 7/15/25 at 9:04 pm to baybeefeetz
Any must have tools you’d recommend?
Posted on 7/15/25 at 9:19 pm to Drunken Crawfish
yeah, a bic pen. i take think tube out and use
the end of it for placing the second hands.
otherwise, i got all my tools in a diy watch making club kit, which is where i got my start.
join a modding facebook group, and you’ll be on your way.
diy watch club is an expensive but good way to start.
the end of it for placing the second hands.
otherwise, i got all my tools in a diy watch making club kit, which is where i got my start.
join a modding facebook group, and you’ll be on your way.
diy watch club is an expensive but good way to start.

Posted on 7/15/25 at 9:23 pm to Drunken Crawfish
All of them... 
This is my current watchmaking "corner." I do everything from movement service and repair down to simple modding. It is my zen hobby.

This is my current watchmaking "corner." I do everything from movement service and repair down to simple modding. It is my zen hobby.
This post was edited on 7/15/25 at 10:01 pm
Posted on 7/15/25 at 9:31 pm to Obtuse1
So what's the story with the big screen? Is that a screen to help view assembly vids and docs?
I see a pretty nice ultrasonic cleaning setup also!
I see a pretty nice ultrasonic cleaning setup also!
Posted on 7/15/25 at 9:32 pm to Drunken Crawfish
Wristwatch Revival is a great follow.
Posted on 7/15/25 at 9:36 pm to Obtuse1
Hot damn that’s a setup.
Posted on 7/15/25 at 9:37 pm to AndyCBR
quote:
the story with the big screen
The screen is connected to a camera attached to a low power scope. What we call a dissecting scope in science fields.
Posted on 7/15/25 at 9:48 pm to AndyCBR
quote:
So what's the story with the big screen? Is that a screen to help view assembly vids and docs?
First, the TV could have easily been smaller but I had a 75" just sitting in the garage so it was cheaper than the smallest Tv I could buy. I do use it for watching watch videos like disassembly and assembly so I can follow along easily but it is also hooked up to the camera on my microscope so I can have a movement or part blown up huge. It also connects to a laptop for video and static pictures. It also acts as a big parts deflector so anything that goes that direction gets directed back onto my very cluttered workspace*, at least in theory.
* There is an old pro watchmaker's joke that you can tell an amateur because they always want all their tools on display, whereas a pro will have only the tools they are currently using on the benchtop. That describes me well because the Craftsman top chest is packed with tools, movements and parts. It irks me that they aren't all out on display. There are times I just leisurely look through all the drawers to see what I have accumulated over time.
I do the majority of my parts cleaning with the ultrasonic using a three-jar method.
Posted on 7/15/25 at 9:56 pm to Drunken Crawfish
quote:
I just ordered the parts for my first build and would love any tips/tricks. I have always loved the Patek Aquanauts, so going to try to make a black on black Aquanaut-inspired piece with orange hands.
Just so I don't cover any unnecessary real estate what movement are you using? Seiko (TMI) NH35?
Posted on 7/15/25 at 10:01 pm to Obtuse1
Yep. That seems to be the standard across most entry/mid-level folks.
This post was edited on 7/15/25 at 10:02 pm
Posted on 7/15/25 at 10:03 pm to Kafka
quote:
if the skies are not cloudy all day
Have you tried a home on the range??
Posted on 7/16/25 at 12:34 am to Drunken Crawfish
This will be at least two parts, I discovered I was going over the TD limit when I was checking to see if an image was posting.
OK I have never seen a Aquanaut inspired case but I am very familiar with the Patek Aquanaut and it has a quirk that makes putting the strap (I assume you have a rubber strap version) on a PITA. They use a spring bar and have two fixing pins that are molded in to the "end link" that fit into holes in the case between the lugs.

This is a picture of one of the better aftermarket straps where you can see the pins. These have quick release springbars so they are easier than the OEM version. If you have spring bars and they are not quick release and you have the fixing pins (I have seen cheap straps that don't have the pins) come back and I will give you some tips. Otherwise you can get away with the cheap strap tool that likely comes with the case.
Also note these are cut to fit so sneak up on it. While you can likely replace fairly inexpensively there is no need to rush. Get close and cut one section at a time. Keep it even on both sides unless you need a odd number.
]
So that's the strap and the last part but wanted to get it out of the way.
You likely are getting a case/crown/strap/crystal set with the crystal already installed. If not that is another tool you need and skill you will develop. Plenty of stuff on YT but I am happy to hel[ there if it is the case.
You will likely be getting a movement/dial/hands that are separate and you start there.
Let's back up a second and deal with your workspace. First you need light, lots of light more light than you think. Modding and basic building of a watch not need as much as assembly of a movement but you still need a fair amount. Plenty of cheap high lumen LED desk lights out there or you can use something you have or just work on your kitchen counter which may be enough light.
Second is your work surface. Bergeon and Horotec will sell you expensive blue/green work pads but they are a luxury. If you have an old clean mouse pad they work well and because they have some give you can get by without having a movement cushion. If you don't have one I suggest looking on eBay/Amazon for extra large mouse pad and get it in a light blue.
Next likely need some magnification. Some use loupes I use Optivisors, I much prefer them. I use the OG Donegan ones but there are plenty of copies. I don't like to suggest Chinese tools but everyone starts a hobby on a budget. Look for one with a ~3x power for work and a flip down lens or a flip over lens that gets you about 10x for inspection. get one with a light attached. This is something you can use for a lot of other things besides watchmaking.
So now you have light, a work surface and magnification. The next thing you need is finger cots (my wife calls them Chinese condoms) you can use powerfree latex or nitrile gloves but they are a lot hotter to work in. You only really need to cover 5-6 fingers, but as a noob you will be using all your fingers unconsciously so just cover them all.
Now you have the movement sitting on the work surface get out your dial. Turn the dial over and you will see either 3 or 4 dial feet. Small brass rods soldered to the dial back. If it is a dial sold to fit the NH35 and there are oly 2 feet you can skip the next part. If it has 4 feet is is designed to fit 2 different movements (often the NH3X and Citizen 8XXX series. If it has 4 feet you need to identify which ones you need to remove and remove them. Look on the movement and identify the dial feet holes
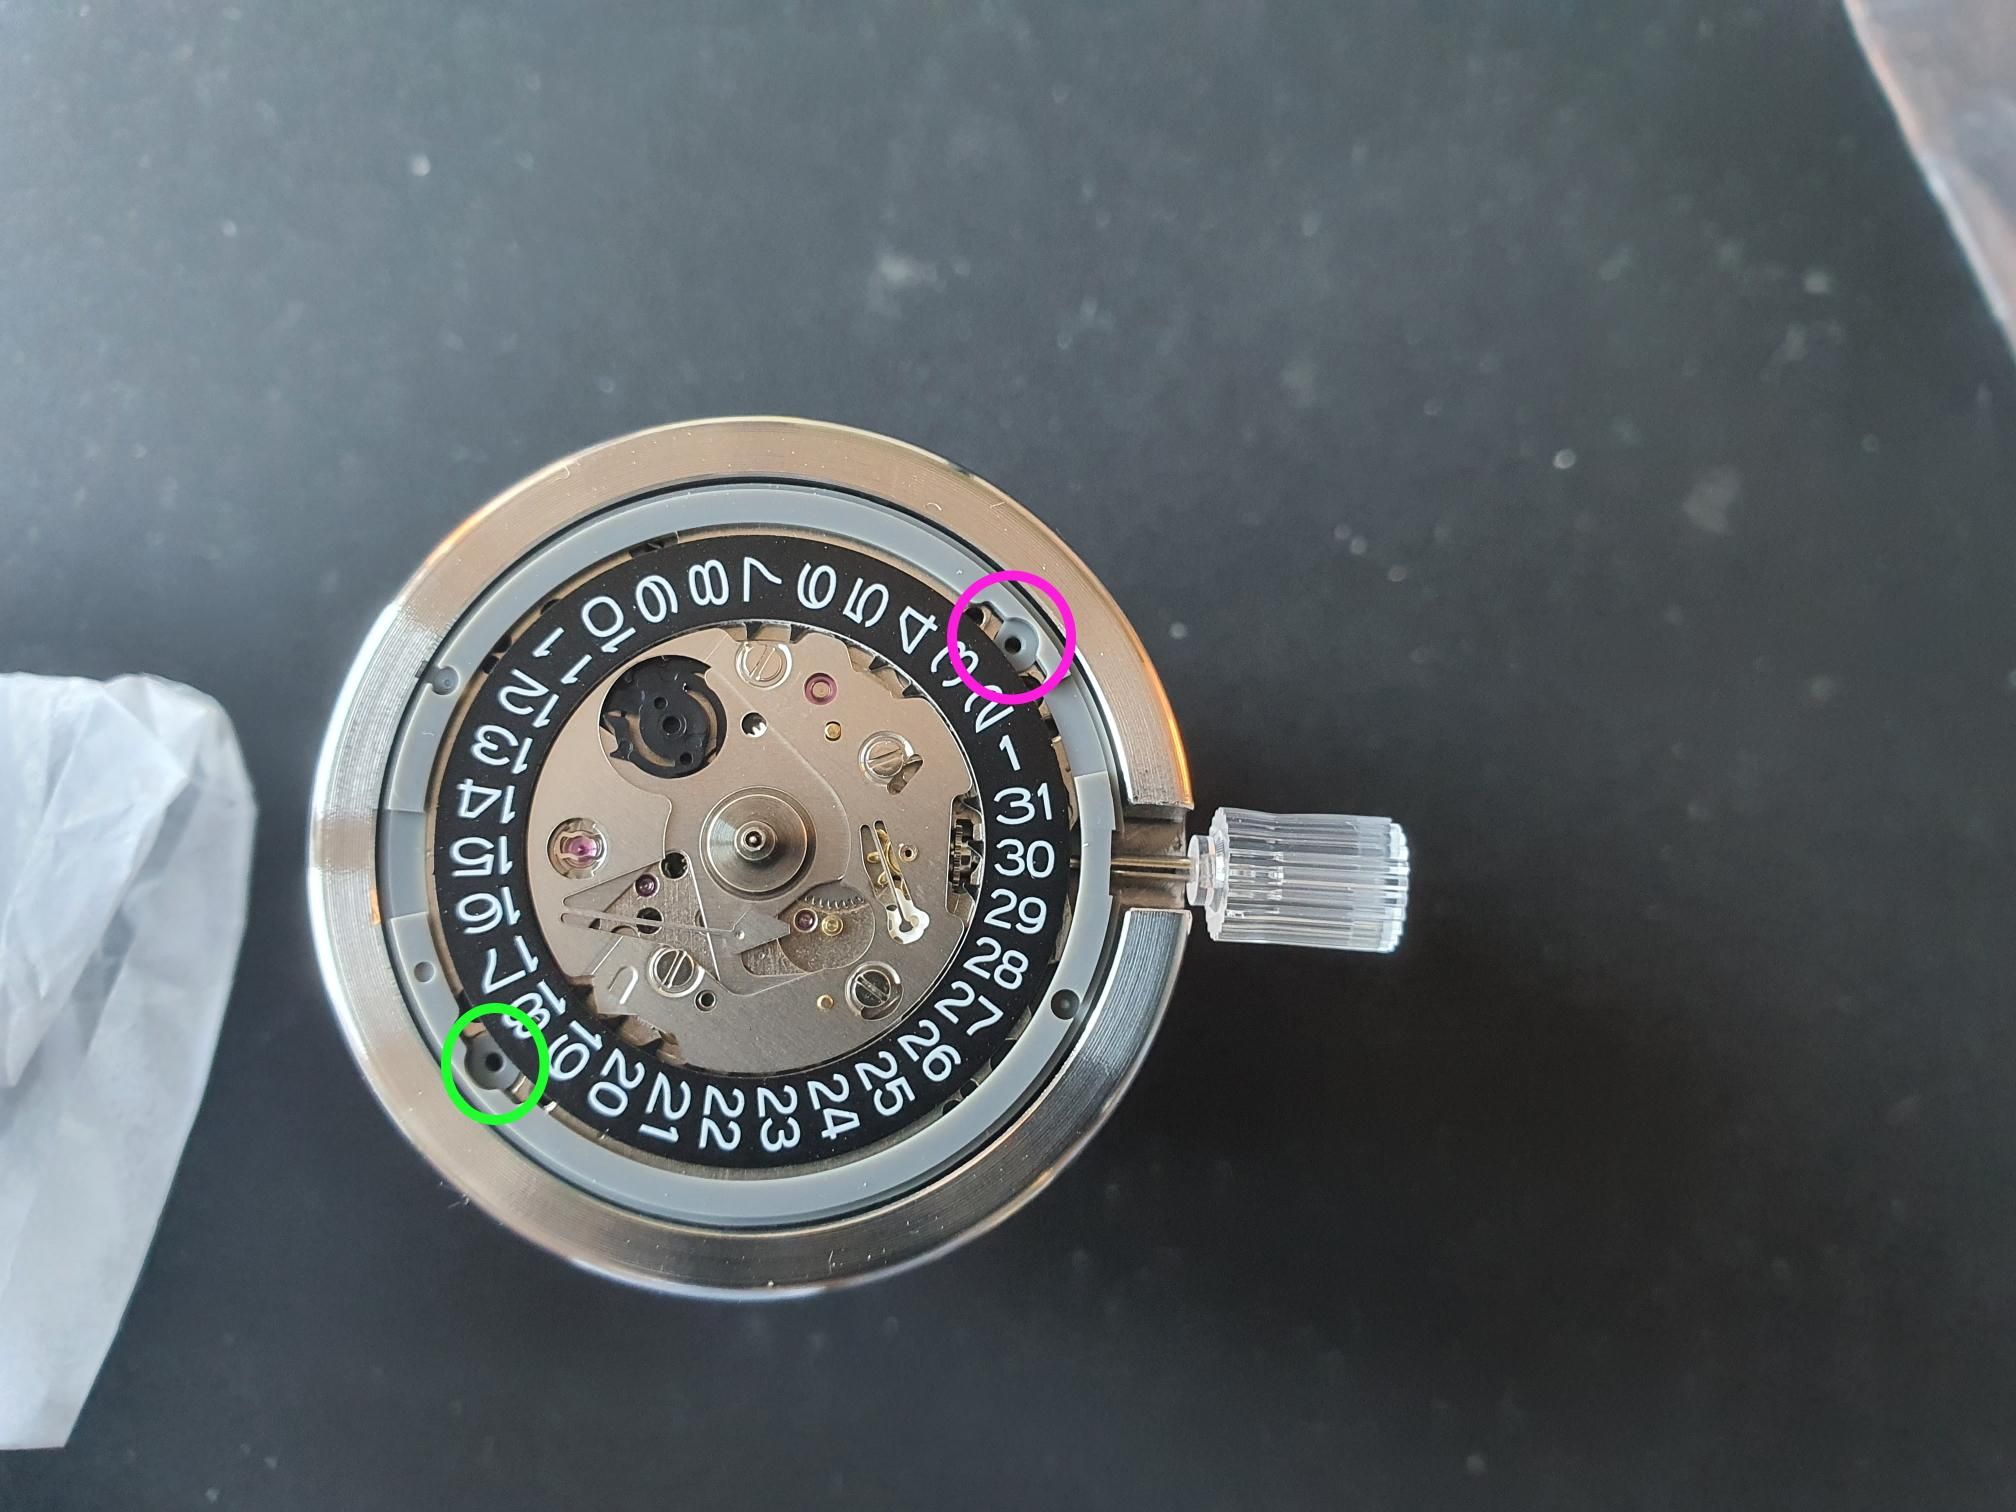
When you see those determine the ones that line up with the holes and remove the rest (you MAY even have 4 to remove if the dial has 6 feet). Some say to cut them off with dykes or end nippers but that can leave material that has the dial sit high on the movement. Determine the ones you need to remove and use a pair of pliers (I use 4" combo or needle nose) to TWIST them off. It usually only takes half a turn and is really easy, it leaves the solder but gets all or almost all the foot material off.
Once you have the correct feet just line up the dial feet with the holes and press it in. This movement only has an interference fit, some particular Swiss movements have screws that hold the feet.
Now it is time for the hands. Since this is a date movement get the movement and pull the temporary stem/crown out to the third position (time setting) and slowly turn the crown clockwise until the date just flips over. As an aside when you set the date the NH35 needs to be turned counterclockwise. Many movements set the date clockwise, the NH35 is counterclockwise. Now push the stem back in and your movement is set to midnight to give you a reference for the hands.
The hand installation order is hour, minute, second. You need a tool to press them on. A cheap set of three dial tools makes the most sense.
These can be found on eBay/Amazon for under $10. If you want to burn money you can buy a Bergeon 8935 for about $1700 plus the cost of movement holders for each movement you work on, you can see one on the back of my bench. They are amazing and make it childs play but just something a noob would never buy.
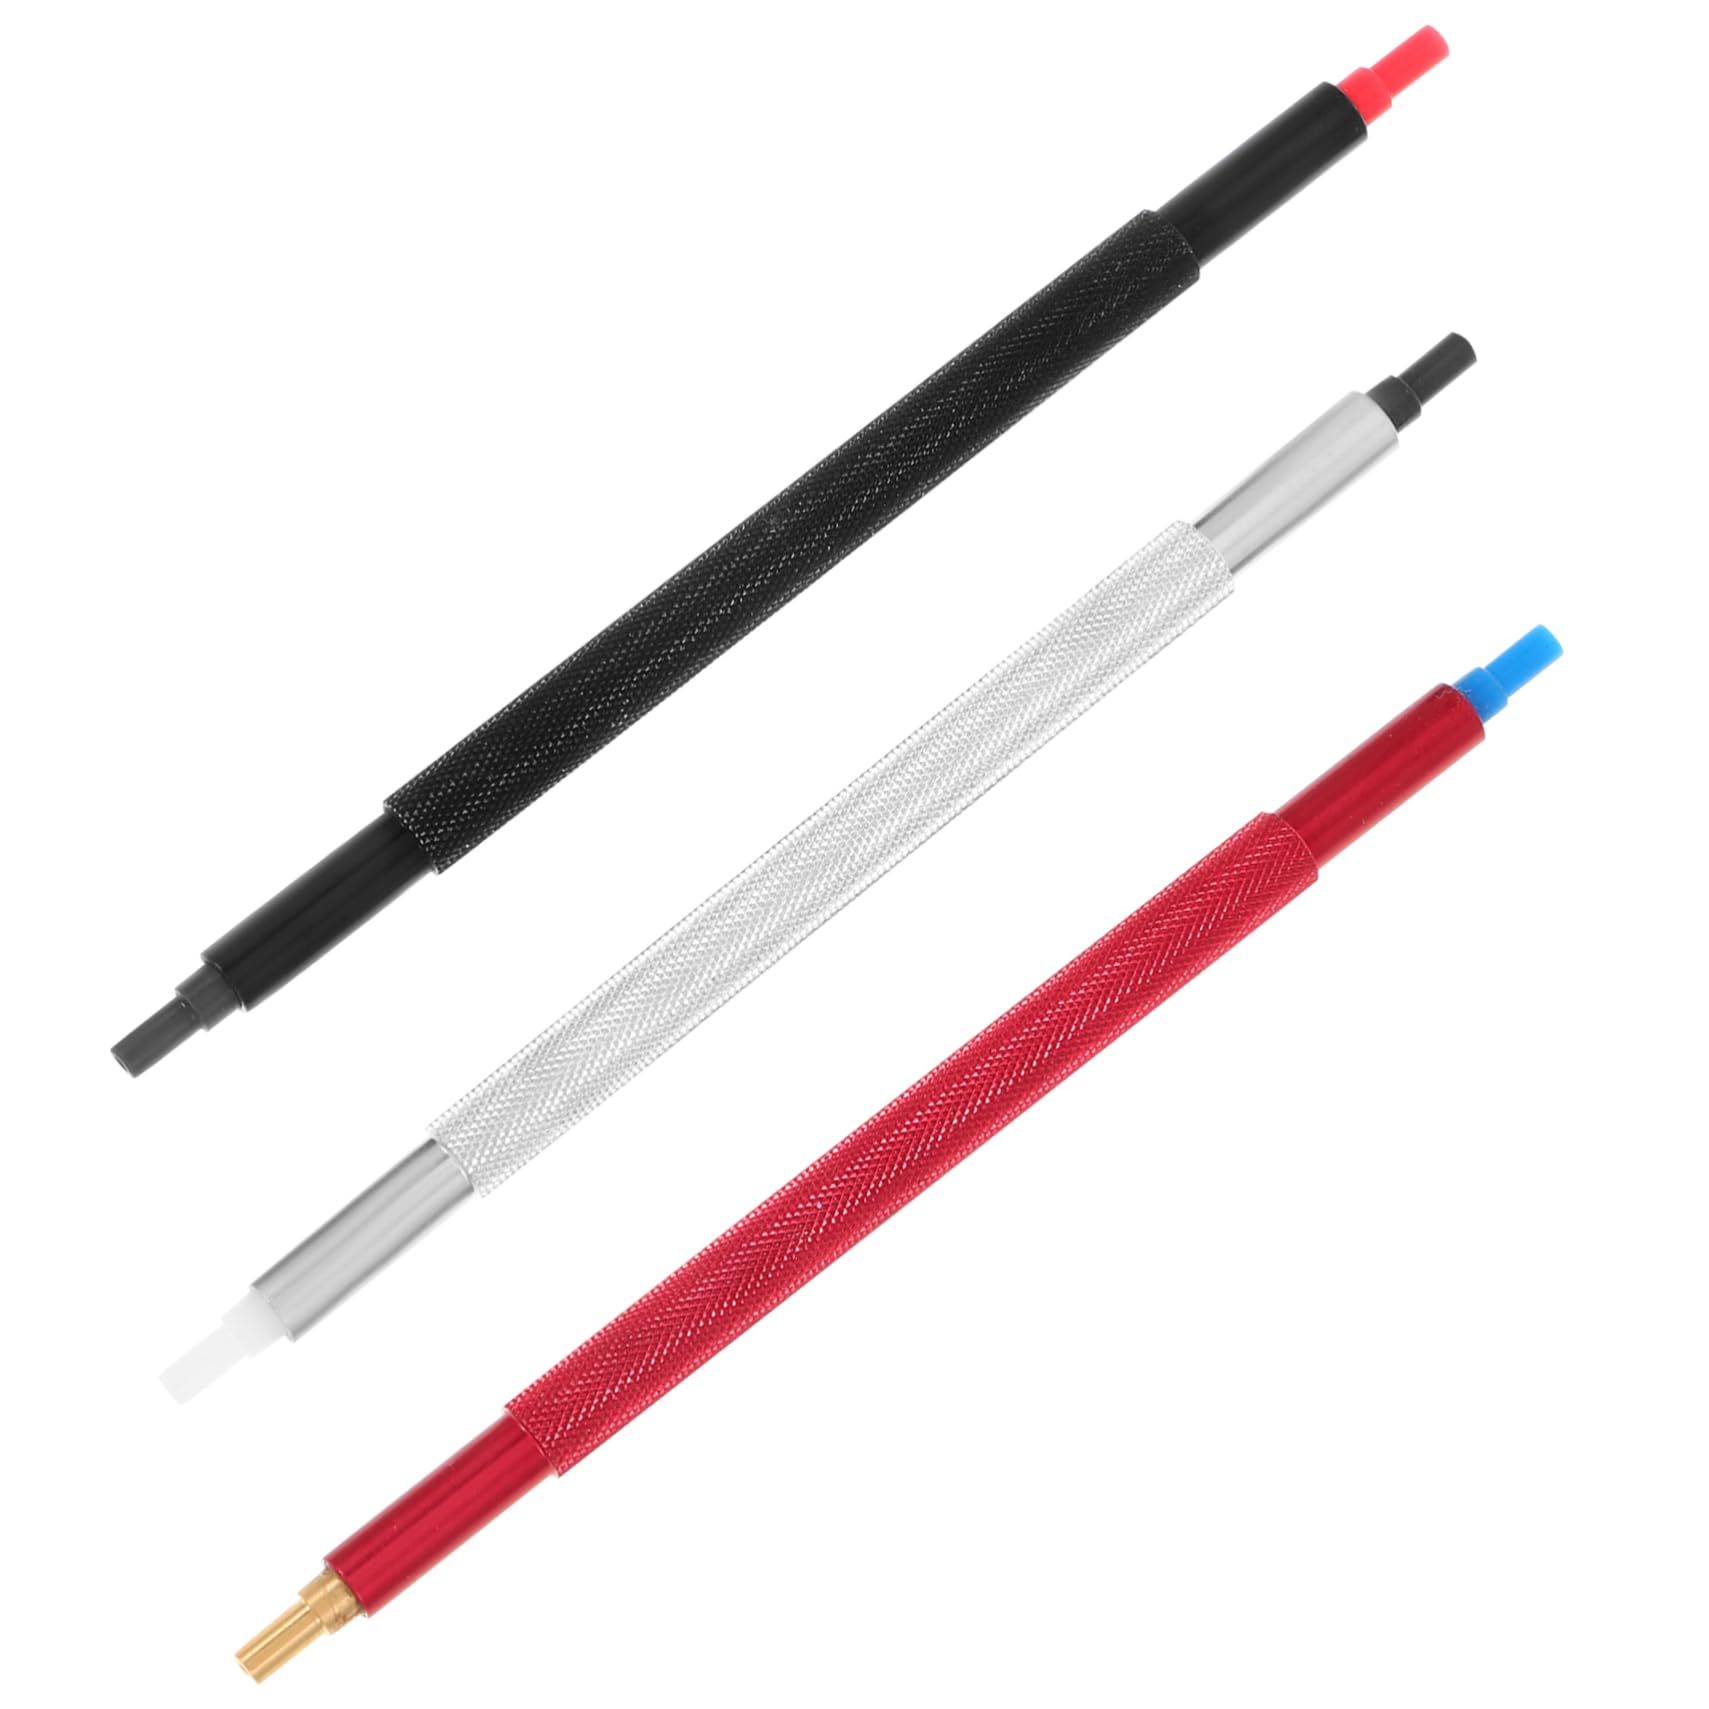
You want to match the hole on the hand press tool to the size of the hole on the hand. Just slightly larger. Then you need a pair of tweezers to place the hand. For a noob you want to look for a set of plastic, wood or bamboo tipped tweezers because they are less likely for you to scratch the hands. All of those can be easily dressed with some fine sandpaper look it up on YT. Set the hour hand on the pinion with the hand at roughly 12 o'clock and press it down and seat it. Like a lot of stuff it takes the right amount of pressure not too much not too little. Start low and gradually increase until you feel it seat. The move it sideways with your tweezers (or a spudger, I have a bunch of cheap spudgers I use for a lot of things, they are plastic don't scratch and you can modify the tips, you may have some if you ever work on electronics). Once you have it at 12 give it another push with the tool to verify it is seated and look at it sideways to verify it is parallel to the dial.
Then just repeat the same for the minute hand.
OK I have never seen a Aquanaut inspired case but I am very familiar with the Patek Aquanaut and it has a quirk that makes putting the strap (I assume you have a rubber strap version) on a PITA. They use a spring bar and have two fixing pins that are molded in to the "end link" that fit into holes in the case between the lugs.
This is a picture of one of the better aftermarket straps where you can see the pins. These have quick release springbars so they are easier than the OEM version. If you have spring bars and they are not quick release and you have the fixing pins (I have seen cheap straps that don't have the pins) come back and I will give you some tips. Otherwise you can get away with the cheap strap tool that likely comes with the case.
Also note these are cut to fit so sneak up on it. While you can likely replace fairly inexpensively there is no need to rush. Get close and cut one section at a time. Keep it even on both sides unless you need a odd number.
]
So that's the strap and the last part but wanted to get it out of the way.
You likely are getting a case/crown/strap/crystal set with the crystal already installed. If not that is another tool you need and skill you will develop. Plenty of stuff on YT but I am happy to hel[ there if it is the case.
You will likely be getting a movement/dial/hands that are separate and you start there.
Let's back up a second and deal with your workspace. First you need light, lots of light more light than you think. Modding and basic building of a watch not need as much as assembly of a movement but you still need a fair amount. Plenty of cheap high lumen LED desk lights out there or you can use something you have or just work on your kitchen counter which may be enough light.
Second is your work surface. Bergeon and Horotec will sell you expensive blue/green work pads but they are a luxury. If you have an old clean mouse pad they work well and because they have some give you can get by without having a movement cushion. If you don't have one I suggest looking on eBay/Amazon for extra large mouse pad and get it in a light blue.
Next likely need some magnification. Some use loupes I use Optivisors, I much prefer them. I use the OG Donegan ones but there are plenty of copies. I don't like to suggest Chinese tools but everyone starts a hobby on a budget. Look for one with a ~3x power for work and a flip down lens or a flip over lens that gets you about 10x for inspection. get one with a light attached. This is something you can use for a lot of other things besides watchmaking.
So now you have light, a work surface and magnification. The next thing you need is finger cots (my wife calls them Chinese condoms) you can use powerfree latex or nitrile gloves but they are a lot hotter to work in. You only really need to cover 5-6 fingers, but as a noob you will be using all your fingers unconsciously so just cover them all.
Now you have the movement sitting on the work surface get out your dial. Turn the dial over and you will see either 3 or 4 dial feet. Small brass rods soldered to the dial back. If it is a dial sold to fit the NH35 and there are oly 2 feet you can skip the next part. If it has 4 feet is is designed to fit 2 different movements (often the NH3X and Citizen 8XXX series. If it has 4 feet you need to identify which ones you need to remove and remove them. Look on the movement and identify the dial feet holes
When you see those determine the ones that line up with the holes and remove the rest (you MAY even have 4 to remove if the dial has 6 feet). Some say to cut them off with dykes or end nippers but that can leave material that has the dial sit high on the movement. Determine the ones you need to remove and use a pair of pliers (I use 4" combo or needle nose) to TWIST them off. It usually only takes half a turn and is really easy, it leaves the solder but gets all or almost all the foot material off.
Once you have the correct feet just line up the dial feet with the holes and press it in. This movement only has an interference fit, some particular Swiss movements have screws that hold the feet.
Now it is time for the hands. Since this is a date movement get the movement and pull the temporary stem/crown out to the third position (time setting) and slowly turn the crown clockwise until the date just flips over. As an aside when you set the date the NH35 needs to be turned counterclockwise. Many movements set the date clockwise, the NH35 is counterclockwise. Now push the stem back in and your movement is set to midnight to give you a reference for the hands.
The hand installation order is hour, minute, second. You need a tool to press them on. A cheap set of three dial tools makes the most sense.
These can be found on eBay/Amazon for under $10. If you want to burn money you can buy a Bergeon 8935 for about $1700 plus the cost of movement holders for each movement you work on, you can see one on the back of my bench. They are amazing and make it childs play but just something a noob would never buy.
You want to match the hole on the hand press tool to the size of the hole on the hand. Just slightly larger. Then you need a pair of tweezers to place the hand. For a noob you want to look for a set of plastic, wood or bamboo tipped tweezers because they are less likely for you to scratch the hands. All of those can be easily dressed with some fine sandpaper look it up on YT. Set the hour hand on the pinion with the hand at roughly 12 o'clock and press it down and seat it. Like a lot of stuff it takes the right amount of pressure not too much not too little. Start low and gradually increase until you feel it seat. The move it sideways with your tweezers (or a spudger, I have a bunch of cheap spudgers I use for a lot of things, they are plastic don't scratch and you can modify the tips, you may have some if you ever work on electronics). Once you have it at 12 give it another push with the tool to verify it is seated and look at it sideways to verify it is parallel to the dial.
Then just repeat the same for the minute hand.
This post was edited on 7/16/25 at 2:33 am
Posted on 7/16/25 at 12:36 am to Obtuse1
May need to be 3 parts or more....
Then just repeat the same for the minute hand.
The second hand is different in that on the NH35 it has a small pin that goes in the pinion. Get the hand press tool with the flat top (no hole) and I have a tip. Pressing the second hand on an NH35 is often the most frustarting part so if you are even mildly frustrated walk away for a bit. You can cover the movement with the clear dome from a parts tray (cheap) or a cleap piece of Tupperware you just don't want to risk contamination. When you are ready to start my tip for a noobie is use a small bit of Rodico (easy to find and cheap, buy the real Bergeon stuff though, it will last forever and is a multi-use material). Place the bit of Rodico on the end of the flat tip of the pressing tool and pick the second hand up with it. The Rodico is sticky. get it so the part of the hand above the little rod is in the center of the tool. get down and guide the rod into the hole in the top of the pinion and press it in. This may take more than a few tries. When you get it in make sure you seat it well before pulling away because if it comes off still stuck to the tool you will want to kick a puppy. Don't worry of the second hand is not at 12, it doesn't matter because every time you set the watch the relationship between the second hand and the other hands change.
Now you have the movement dial and hands set up. Now it is time to case the movement. You need to remove the temporary stem. I will link a YT video showing the lever you need to push while lightly pulling in the stem.
Now you need to locate the stem that came with the movement. They are usually taped in the plastic shipping box. If it didn't come with one you will have to source one, all over eBay, Amazon, Ali or the parts houses. If I had talked to you before you bought the parts I would have suggested you get extras, you will ruin one sooner or later usually by cutting it too short.
Remove the caseback from the watch. They usually aren't tight and most caseback tools will work, easy to find for a few bucks or if you want to blow 2K I can tell you how I did it. LOL However, if you want to stay on a tight budget and have some painters tape just wrap a couple of wraps around your dominant index and middle finger and it will work to remove and install most casebacks. They don't have to be super tight.
Posted on 7/16/25 at 12:36 am to Obtuse1
This is the point is need to mention an air blower. You need something like this, the copies are around $5

Use this constantly to blow off the dial and hands every time you touch them from this point forward, the same for the inside of the case. Just do it. When I say later to put the movement in the case make sure the crystal and inside of the watch are clean (use windex if you have to) but most of the time they ship clean. Use you highest power of magnification to check the dial hands and case before assembly. They cam't be too clean.
Once you have the caseback off you want to put the movement in dial down obviously and seat it all around. The NH35 has a plastic movement holder and hopefully the one supplied fits the case. Press it in using the date, 12 o;clock and stem hole to align it. Once you are there press around the movement holder to fully seat it, a spudger works well here too.
Now you need to cut the new stem. Thread the metal crown (not the temp one) onto the stem. Fully seat it but not too tight. Then install it in the movement. It basically just pushes straight in and clicks if you have the movement lined up correctly. If it feels like it is going in at an angle rotate the movement to get good alignment. The back of a springbar tool or small screwdriver works great. Usually the interference fit of the movement holder is loose enough to do this. When you get it in and seated use this video to measure and cut it. I highly suggest using a cheap 4" set of calipers, they don't need to be accurate just precise (repeatable).
Then remove the stem (remove the crown from the stem) and use the calipers the mark it with a Sharpie. Remember you are cutting the threaded end. There is such thing as a stem cutter but they are expensive. Most people myself included just use a small pair of end nippers. You can use any end nippers, dykes, combo or needle nose pliers you have around the smaller ones tend to have a more vertical cut which is good I use 4". Note the stem is hard and I suggest you don't go at it with your expensive NWS, Knipex etc pliers because they are designed to cut copper and stems will scar the cutting surface. I just use the cheap ones until there is no good cutting surface left and replace them. Once you have it cut you need to stone it. I use a pin vice and a diamond stone but you can use some needle-nose pliers or your fingers and a piece of ~400 grit sandpaper. If you use pliers look on the end opposite of the threads and hold it using the flat parts. Whether pin vice, pliers or fingers hold the stem threads at about 30 degrees and move the back and forth over the sandpaper rotating it as you go. You are cleaning up the cut so the crown threads on without boogering up the threads. Once the threads are clean put the crown back on and snug it down but not too tight. Install the crown/stem and seat it in the movement. Pull the movement out to all three positions and ensure you can wind, set the date and set the time. Then push it back in to position zero and screw down the crown. A when you have the case as shipped with the crown screwed in fully look at the spacing of the crown to case when it is fully screwed in which gives you a reference for the next step. As you screw the crown in if you feel the watch winding the stem is too short. You will need another stem but you can assemble it and wear it until you can get another one in. If when fully screwed in the crown is not as tight to the case as when there was no stem there it is too long. Remove everything and shorten it a LITTLE at a time until you can fully screw down the crown. A crown that is too long affects the water resistance. Once the length is right remove the stem again and remove the crown, put a small amount of Loctite on the end of the threads and tighten the crown back on. Ask 10 watchmakers which Loctite to use and you will get 11 answers. I use 222. You don't need anything super strong.

 Page 1 of 2

Popular
Back to top